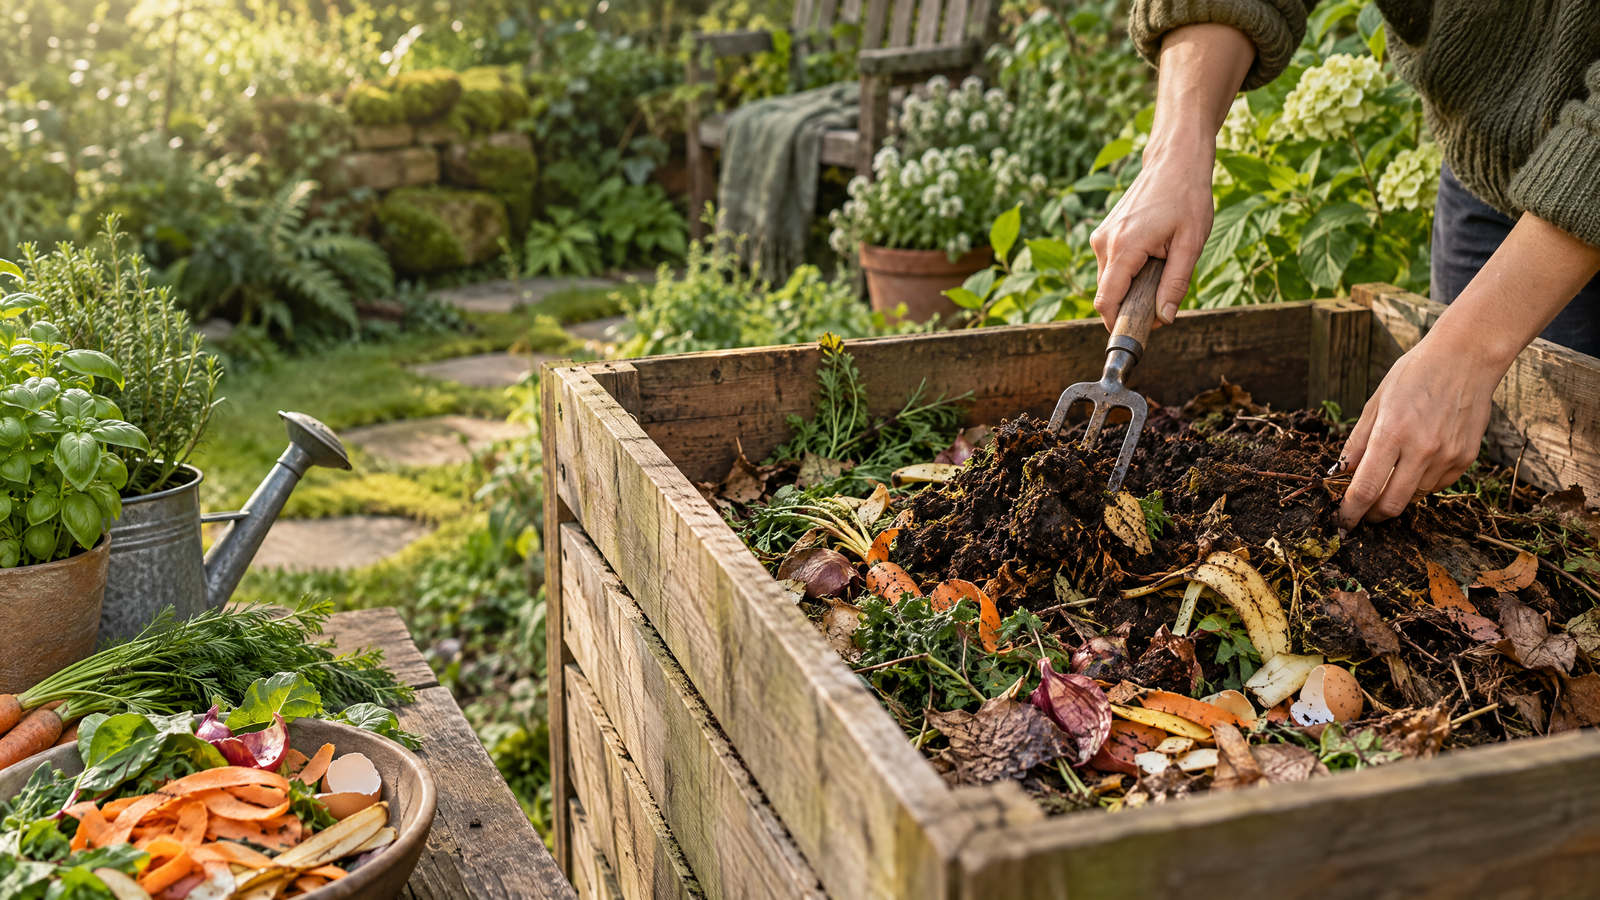

Every banana peel, coffee ground, and eggshell you throw away is soil you didn’t make. Home composting converts your kitchen scraps and yard waste into rich, free fertilizer — while cutting your household waste by a quarter or more and keeping methane-generating organics out of landfill. It sounds like something requiring a farm and expertise. In reality, you can start this weekend with a container and fifteen minutes of reading.
This guide is those fifteen minutes: what composting actually is, the one rule that matters, four setups for different living situations, and the mistakes that scare beginners away from the easiest win in sustainable living.
What Composting Actually Is (No Chemistry Degree Needed)
Composting is managed rotting. Microorganisms, worms, and insects eat organic matter and excrete a dark, crumbly, earthy-smelling substance that plants consider a five-course meal. Your job isn’t to do the composting — it’s to provide the conditions where the workers thrive: the right mix of food, moisture, and air.
Get those three roughly right and composting happens by itself, because it’s just nature’s recycling system running in a box you own.
The One Rule That Matters: Greens and Browns
Everything you compost is either “green” (nitrogen-rich, wet) or “brown” (carbon-rich, dry):
- Greens: fruit and vegetable scraps, coffee grounds, tea bags, fresh grass clippings, eggshells, plant trimmings
- Browns: dry leaves, cardboard, paper, wood chips, straw, sawdust (untreated wood)
The magic ratio is roughly 2–3 parts browns to 1 part greens by volume. Too many greens and the pile turns slimy and smelly; too many browns and it sits there doing nothing. Beginners almost always over-feed greens — kitchen scraps arrive daily while browns require remembering. Keep a stash of shredded cardboard or dry leaves next to the bin and cover every dump of scraps with a layer of brown. That single habit prevents 90% of beginner problems.
What You Can and Can’t Compost
Yes: fruit and vegetable scraps, coffee grounds and paper filters, tea leaves, eggshells (crushed), bread and grains in moderation, yard trimmings, leaves, shredded non-glossy paper and cardboard, hair, natural fiber cloth scraps.
No (for beginners): meat, fish, dairy, and oily foods (they attract pests and smell — advanced systems can handle them, starter piles shouldn’t); pet waste from meat-eating animals; diseased plants; glossy or heavily inked paper; anything synthetic.
Pick Your Setup: Four Options by Living Situation
1. The open pile or bin (gardens and yards)
The classic. A corner of the yard, or an inexpensive enclosed bin, layered with greens and browns. Keep it as damp as a wrung-out sponge, turn it with a fork every week or two to add air, and in a few months to a year the bottom turns to finished compost. Cheapest option; requires the least precision.
2. The tumbler (small yards, tidy households)
A sealed drum on a frame that you spin instead of forking. Faster than a pile (the turning aerates better), tidier, and pest-resistant. Costs more than a bin but suits households that want compost without a visible heap.
3. Worm composting / vermicomposting (apartments, balconies)
A ventilated bin of red wiggler worms converts scraps into superb compost and liquid “worm tea” fertilizer. It lives indoors or on a balcony, is odorless when balanced, and works year-round. Feeding a worm bin becomes strangely satisfying — the worms are quiet, undemanding pets that eat your garbage.
4. Bokashi (apartments, all food types)
A sealed bucket system that ferments scraps — including meat and dairy — using inoculated bran. It produces a pre-compost you then bury or add to a compost bin, plus liquid fertilizer. Ideal for small spaces and households wanting to compost everything from day one.
No outdoor space at all? Check whether your city runs a food-scrap collection or community garden drop-off — you can keep scraps in a freezer caddy and contribute without maintaining a pile.
Getting Started This Weekend: Step by Step
- Step 1 (today): Put a container with a lid under the sink or on the counter for kitchen scraps. That’s your daily collection point.
- Step 2: Choose your setup from the four above and set it up — a bin in the yard corner, or an ordered worm kit or bokashi bucket.
- Step 3: Start with a base layer of browns (twigs or shredded cardboard for air flow), add your first greens, cover with browns.
- Step 4: Every scrap dump: cover with browns. Keep the pile moist like a wrung sponge. Turn or spin weekly if your system calls for it.
- Step 5: Wait. In a few months (faster for tumblers and worm bins), the bottom layer becomes dark, crumbly, earthy compost. Harvest, feed your plants, feel smug.
Troubleshooting the Three Classic Problems
- It smells bad. Too many greens or too wet. Fix: add browns, turn to aerate, ease off the scraps for a week. A healthy pile smells like a forest floor, never like garbage.
- Nothing’s happening. Too dry, too many browns, or too cold. Fix: add greens and water, chop pieces smaller, and give it time — composting slows dramatically in winter.
- Pests. Usually exposed food. Fix: always bury scraps under browns, avoid meat and dairy, and use an enclosed bin or tumbler if rodents are a local reality.
Why It Matters Beyond Your Garden
Food and yard waste make up a huge share of household trash, and in landfill — buried without air — they decompose into methane, a greenhouse gas far more potent than CO₂. Composting the same scraps aerobically produces almost no methane. Every household that composts is a small but real climate intervention — and it compounds with your other kitchen wins, as we covered in our zero-waste kitchen guide.
Composting Through the Seasons
Composting isn’t a summer hobby — it just changes pace. Spring and summer are peak season: warmth accelerates everything, garden greens arrive in volume, and a well-fed pile can finish remarkably fast. Autumn is brown season — stockpile dry leaves in bags; they’re free carbon gold that will balance your kitchen scraps all winter. Winter slows microbial action dramatically in cold climates: the pile won’t rot much, but keep adding scraps (they’ll process when warmth returns), insulate with extra browns, and consider moving a worm bin indoors where it runs happily at room temperature all year. Beginners who understand the seasonal rhythm don’t panic in January; they just keep feeding and wait for spring’s harvest.
Using Your Finished Compost
Finished compost is dark, crumbly, and smells like a forest floor — if it still smells like food, it isn’t done. Uses, in rough order of value:
- Garden beds: a 2–5 cm layer worked into the top of beds before planting feeds a whole season.
- Potting boost: mix one part compost to two-three parts regular potting soil for container plants.
- Top dressing: a thin layer around established plants and shrubs, watered in — nature’s slow-release fertilizer.
- Lawn feed: sifted fine and scattered thinly in spring or autumn.
- Compost tea: steep a shovelful in water for a day or two for a liquid feed houseplants love.
One caution: more isn’t better. Compost is concentrated — a thin layer feeds; a thick burying can overwhelm plants. Think seasoning, not stuffing.
A Warning About “Compostable” Plastics
Those cups, bags, and cutlery labeled “compostable” or “biodegradable” almost never belong in your home pile. Most are certified only for industrial composting — facilities that run far hotter than any backyard bin — and will sit in your pile for years as intact plastic. “Biodegradable” is worse: an essentially meaningless claim without a timeframe or conditions attached. Unless a product explicitly says “home compostable” (and ideally carries a certification saying so), keep it out of the pile — and treat the label itself with the same skepticism we covered in our guide to spotting greenwashing.
Frequently Asked Questions
How long does home composting take?
Anywhere from two months (well-managed tumbler or worm bin in warm weather) to a year (an untended cold pile). Turning, chopping scraps small, and keeping the greens-browns balance right all speed things up.
Can I compost in an apartment without it smelling?
Yes — worm bins and bokashi systems are designed for indoors and are odorless when run correctly. Freezing scraps between drop-offs eliminates smells completely for collection schemes too.
What do I do with compost if I don’t garden?
Houseplants love it, a thin layer feeds any lawn, and neighbors, community gardens, and local allotment holders will happily take surplus. Finished compost never goes to waste for long.
Is composting really worth the effort?
The “effort” is a scrap container and a weekly two-minute turn. In return: a quarter of your bin disappears, your plants get free premium fertilizer, and your organics stop generating methane in landfill. Few habits offer that ratio.
The Bottom Line
Composting is nature doing your waste management for free, asking only for a sensible mix of greens and browns, a bit of moisture, and occasional air. Pick the setup that fits your living space, start the scrap container today, and cover every dump with browns. In a few months you’ll hold the proof in your hands — dark, rich, and made entirely from things you were about to throw away.
Discover more from Greenfuturepath
Subscribe to get the latest posts sent to your email.